Planning a Home Office Before Buying the Desk
The cheapest moment to fix a home office is before anything arrives. Once the desk is delivered and assembled, every mistake costs effort: a drawer that cannot open, a window that hits the chair, a socket hidden behind a leg. Before it arrives, the same mistakes cost a strip of masking tape and ten minutes. This article is about that rehearsal: how to measure a room properly, mark out a proposed desk at full size, try it with a table you already own and revise the plan when something collides.
It is a practical method rather than a philosophy. The broader question of what your working day needs is covered in our guide to designing around the working day; this one assumes you know roughly what equipment you use and want to find out where it will go. To keep it concrete, it follows one sample room from first measurement to revised plan. The room is hypothetical, but the arithmetic is real and you can repeat it in your own space.
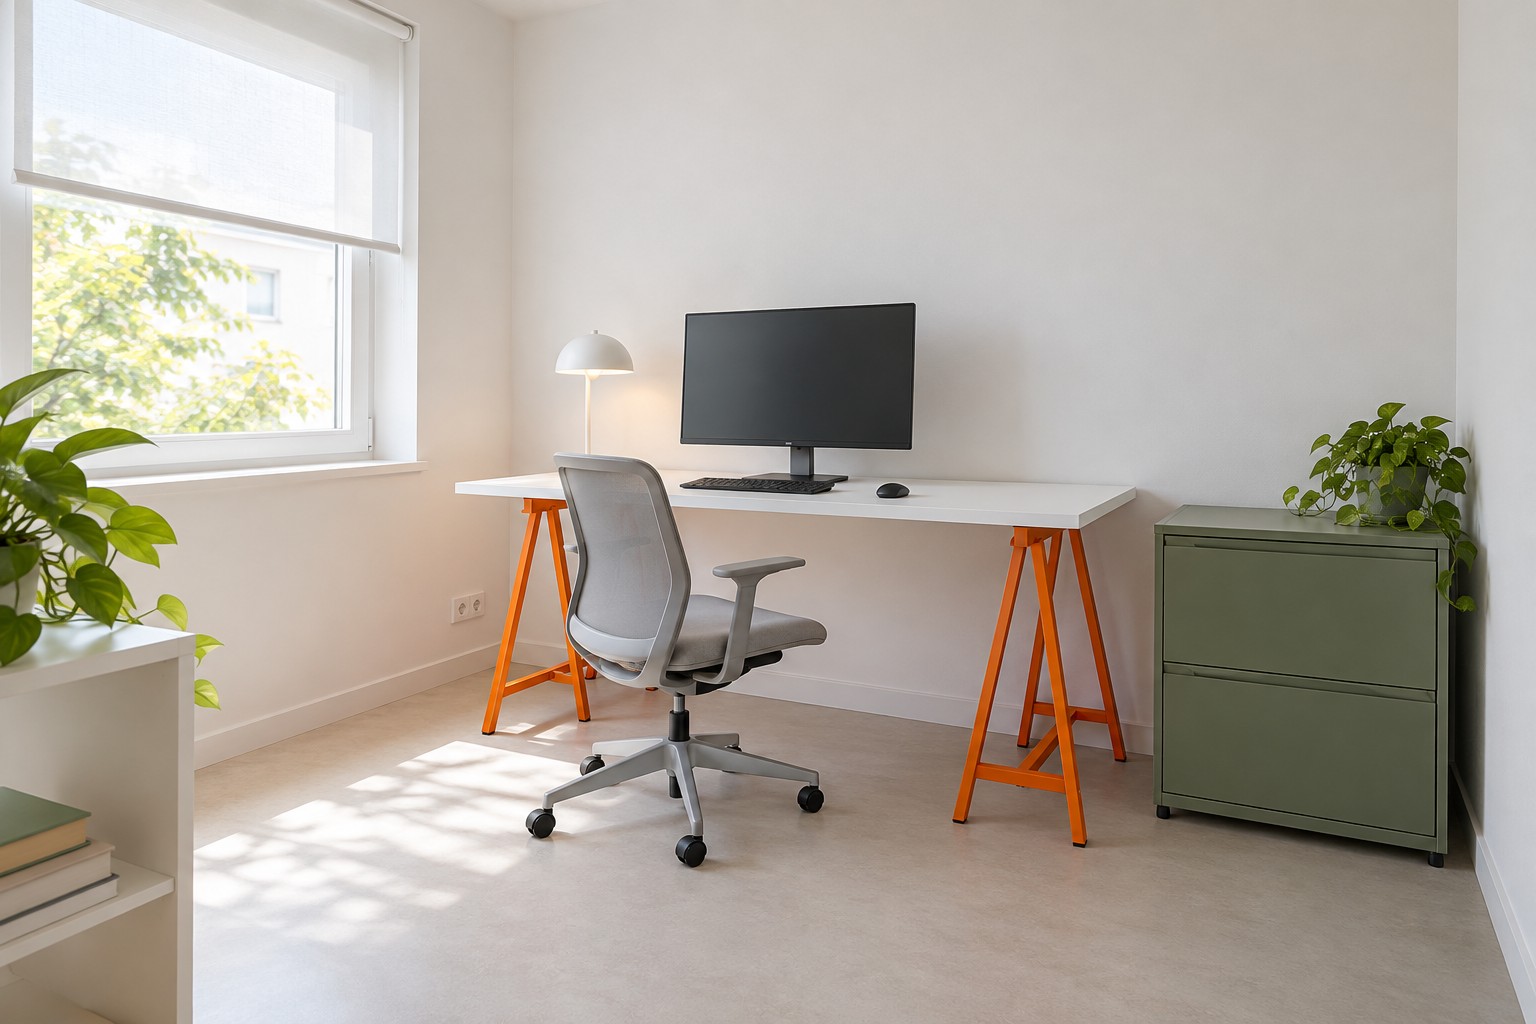
Image credit: pxef.com. AI-generated design concept.
The sample room measures 2.8 by 3.4 metres, about 9.2 by 11.2 feet, which gives 9.52 square metres of floor. The door is in the near wall on the right. The window is on the left-hand wall toward the far end. The proposal under test is a simple 140 by 75 centimetre worktop, about 55 by 30 inches, on a pair of orange steel trestles, with a single monitor, an adjustable chair and a low green storage unit. The concept is drawn from the revised arrangement described below, not the first attempt. All of these numbers are design assumptions for the example, not measurements of a real room.
The orange trestles make the support footprint unusually easy to see: splayed legs sit beneath the ends of the white top, with open knee space between them. The socket remains visible in the window-side gap rather than disappearing behind a cabinet. At the opposite end, a green two-drawer unit occupies the remaining wall. The clear floor behind the grey chair is part of the working area, even though it looks like empty space in the picture.
Start with a sketch and a tape measure. Draw the room roughly on paper, then measure each wall at floor level and write the numbers on the sketch. Walls are not always parallel, so measure at both ends of the room. Mark the door: which side it is hinged on, which way it opens and how wide the leaf is. In the sample room, the door leaf is 80 centimetres wide and opens into the room against the right-hand wall, so it sweeps a quarter circle in the near right corner. Nothing that needs to stay put can go inside that sweep.
Mark the window next, including how it opens. In the sample room, the window is on the left-hand wall between 1.6 and 2.8 metres from the near wall, and it opens inward. Open it fully and measure how far the sash swings into the room; here it is about 60 centimetres. Also note the sill height, any handle, any radiator below and where the light falls at the times you will work. Do the same for wardrobe doors, cupboard doors and anything else that moves.
Then find the sockets. Measure each one’s position along the wall and its height from the floor, and note which are switched and how many outlets each has. In the sample room, there is a double socket on the far wall 40 centimetres from the left-hand corner and another on the right-hand wall near the door. Sockets decide where cables can run without crossing the floor, so they often decide where the desk goes.
Now list the equipment and measure it, in use rather than packed away. The monitor’s stand footprint, the keyboard, the mouse area, any paper you keep beside the keyboard, the laptop if it sits on the desk, the lamp base. Our guide to how much desk space your work needs works through that surface calculation. For the sample room, the assumed single-screen kit fits on 140 by 75 centimetres; a real setup needs its own stand, viewing-distance and input-device checks.
Check the desk’s supports as well as its top. Trestles, four legs, a panel end and a frame with a crossbar all put metal or timber in different places under the top. Trestles usually stand some way in from each end and splay outward at the base, so the actual foot spread may extend beyond the supported portion of the top and can limit where a drawer unit or your knees go. Measure the support positions from the product drawing, not from a photograph.
Here is the distinction the whole method rests on: a furniture footprint is not the same as the area the furniture occupies while you use it. The worktop’s footprint in the sample room is 1.4 by 0.75 metres, or 1.05 square metres. But you sit in front of it, and when you stand up the chair rolls back. For this example, allow 85 centimetres in front of the desk for sitting, pushing back and standing. That allowance is a planning assumption from trying a typical task chair, not a rule; your chair and your habits may need more or less. Add it, and the occupied working area becomes 1.4 by 1.6 metres, or 2.24 square metres, more than twice the footprint. Storage works the same way: a 40 centimetre deep unit with drawers needs another 40 centimetres or so in front when a drawer is open, plus room for you to stand there.
With those numbers, tape the first proposal onto the floor. In the sample room, the first plan put the worktop against the far wall, tight into the left-hand corner, so its left end sat beside the window. Tape the worktop outline, then tape the chair zone in front of it in a different colour, then the storage and its open-drawer zone. Mark the door’s sweep and the window’s swing on the floor too.
The tape immediately showed a plan-view conflict, which the rehearsal must also check at the sash’s actual height. The window sash, opening 60 centimetres into the room from the left-hand wall, swept straight across the left part of the chair zone. Sitting at the desk, you could not open the window without standing up and pushing the chair away, and on a warm day the open sash would sit beside your head. On paper, the desk and the window looked fine together, because the plan drew the window as a line on the wall.
The revision was simple. Moving the worktop 70 centimetres to the right puts its left end at 70 centimetres from the left-hand wall and moves the whole chair zone clear of the 60 centimetre sash swing, with a 10 centimetre margin. It also uncovers the socket at 40 centimetres from the corner, which now sits in the gap to the left of the desk and stays reachable. The green storage unit, planned for the right of the desk, has to shrink to fit the space that remains: the worktop now ends at 2.1 metres from the left-hand wall, leaving 70 centimetres of far wall. A 60 centimetre wide unit fits there, with its drawers opening into floor the chair does not use.
Then rehearse with a real table. Put the nearest available table on the taped outline, even if it is the wrong size, set up your actual equipment and work at it for a morning. Sit, stand, open the window, open the storage, plug in a charger, leave the room and come back. Note every time something interrupts you. In this example, the rehearsal also confirms that the window is now on the worker’s left, beside the screen rather than behind it, and that the route from the door to the desk stays clear of the door’s sweep.
A precise drawing can help at this stage, especially if you are ordering furniture made to measure or sharing the plan with someone else. A simple scaled plan, drawn by hand on squared paper or with free drawing software, with the door sweep, window swing and chair zone shown as arcs and rectangles, is far more reliable than an estimate.
Only then buy the desk. By this point you know its maximum size, the support type that suits the space, where the sockets are relative to it and what storage fits beside it. You will also know what you do not need, which is often the most useful result of the whole exercise. A desk chosen this way may look exactly like one chosen from a photograph. The difference is that it arrives in a room already prepared for it, and the window still opens.